How to Tie the Nail Knot
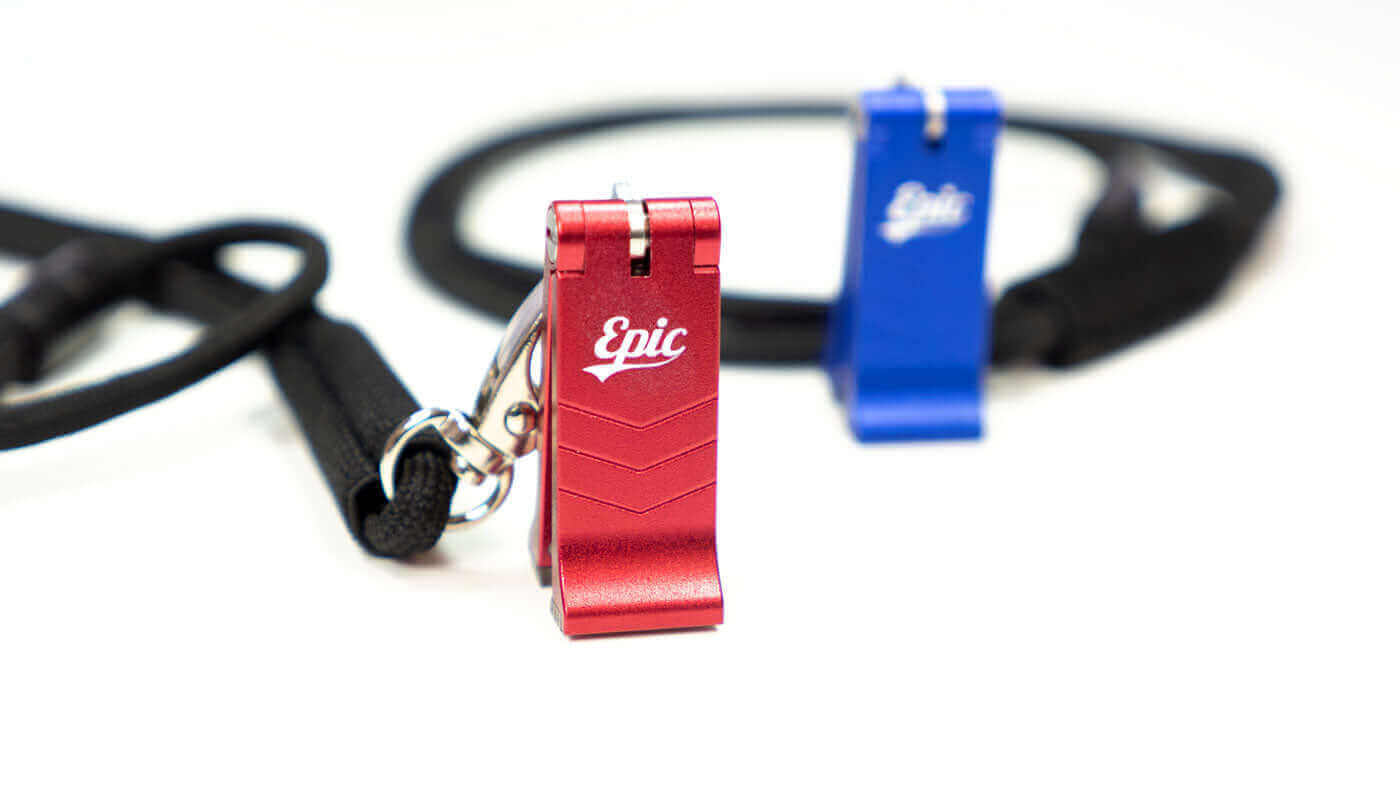
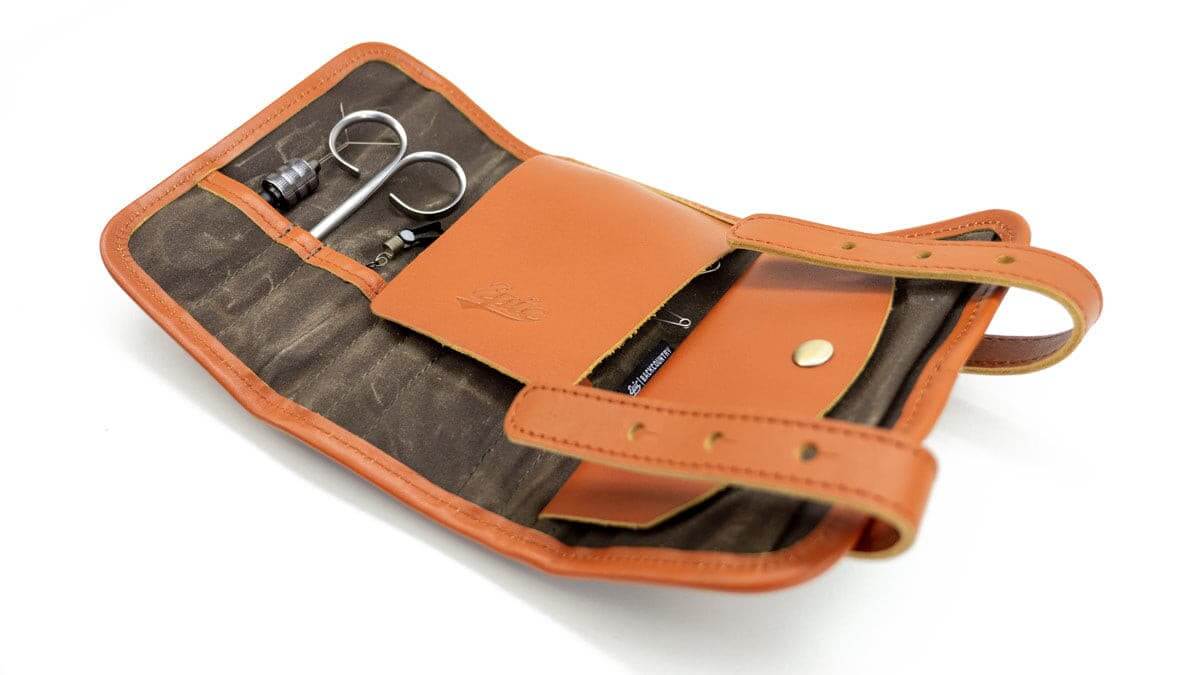
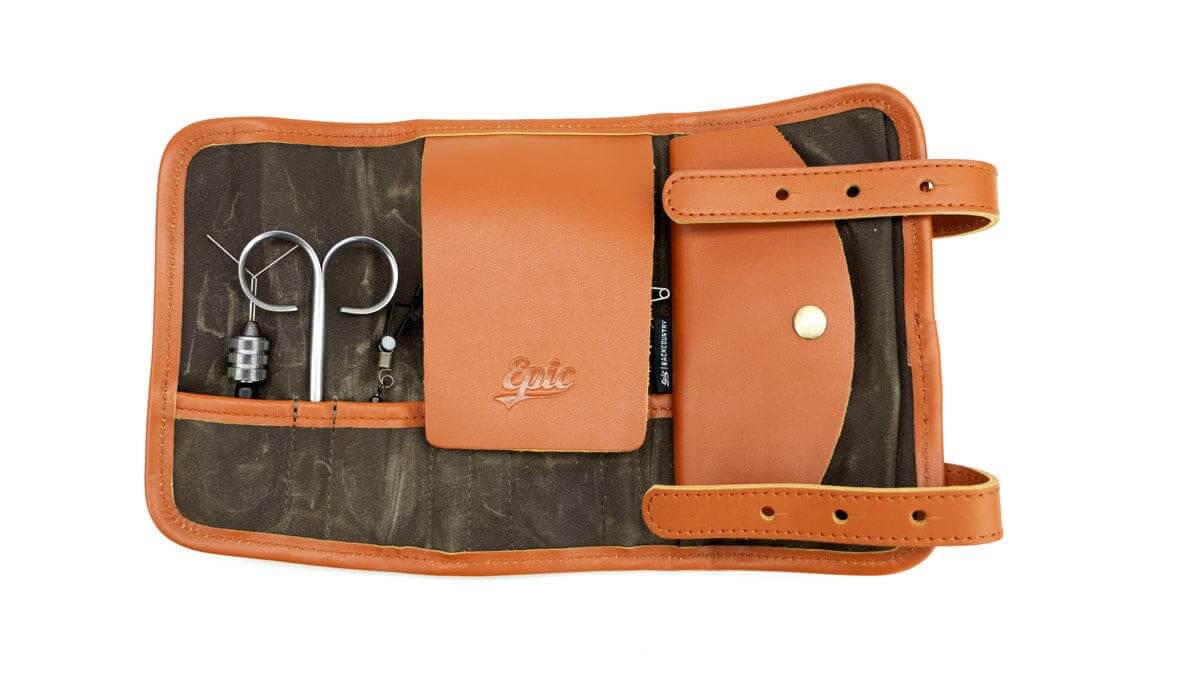
The nail knot is the time-honored method for attaching fly line to leader. While it does require retying when changing leaders, this connection is a good choice for gentle presentations and is very helpful when picking up grass and other floating debris is a concern. Some nail-knot tools on the market are worth trying if this is your preferred method of attaching leader butt to fly line, if only because they easily attach to your lanyard or vest so that you can find them easily.
Supplies: small metal or plastic tube (or nail-knot tool), flexible cement such as Pliobond, or a UV glue.

1. Place the fly line just beyond the tube. Position the butt end of the leader on top of the fly line and wrap it around the fly line and tube one time.

2. Continue wrapping toward the end of the fly line (back over the leader itself) until you have a total of six wraps. Placing the coils close together makes it easier to close the knot. Use your fingers to pinch the coils in place.

3. While holding the wraps tightly, insert the tag end of the leader into the tube and push it through.

4. Gently remove the tube while continuing to pinch the coils. Dress and lubricate the coils. Tighten firmly by pulling on both ends of the leader.

5. Trim the tag end of the leader and excess fly line. Add a flexible cement such as Pliobond or a UV glue to the knot to smooth out the connection.
Author

Joe Mahler is one of the USA's leading fly casting instructors and author and illustrator of “Essential Knots & Rigs for Trout” and “Essential Knots & Rigs for Salt Water”. You can Book a fly casting lesson with Joe via his website here


